How to Sell Canva Designs Online: A Beginner’s Guide
Published: 5 Nov 2026
How to Sell Canva Designs Online: A Beginner’s Guide
If you enjoy making things look clean, clear, and useful, selling Canva designs can be a practical first step into online earning. You do not need a design degree, expensive software, or a large audience to begin. You need original work, a clear product idea, and a simple system for creating, listing, and improving your designs.
Canva makes design accessible, but the opportunity is not the tool itself. It is the time and clarity you save a buyer. A busy teacher, a small business owner, or a new content creator may pay for a well-organised planner, a ready-to-edit social media template, or a printable that saves them hours of work. This guide covers what to sell, licensing rules, how to make usable products, where to sell, and how to price and promote them honestly.
What Selling Canva Designs Really Means
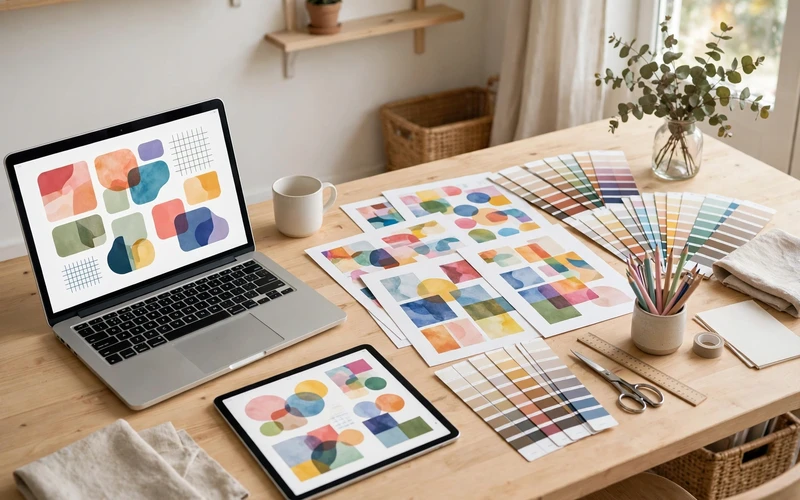
You usually sell one of two things: a finished digital file, such as a printable planner page or wall print, or an editable template the buyer can customise in Canva with their own words, colours, and details. Editable templates are especially useful because they solve a repeatable problem. A tutor may reuse a tidy worksheet layout, while a social media manager may need a consistent post style every week.
This work is not a shortcut to instant income, and it is not reselling other people’s work. Buyers notice low-effort products through poor previews, confusing files, or designs that look copied.
What You Can Sell
Begin with products you understand and can make well. Social media posts, stories, and banners are a natural start, especially if you already create content. Planners, calendars, habit trackers, meal planners, and study schedules are also useful because people use them daily and look for a layout that fits their routine.
Printables offer another direction: wall art, party invitations, classroom posters, gift tags, chore charts, and wedding stationery. Business templates, such as price lists, invoices, menus, business cards, and flyers, are useful too. Instead of one random post, one invitation, and one flyer, make a complete set for one audience, such as ten matching Instagram templates for a bakery or a classroom pack for primary teachers. A focused set feels more professional and is easier to promote.
Licensing Rules: The Part Beginners Must Not Skip
The simple rule is: sell only your own original designs, and respect Canva’s terms and the rights of other creators. Canva provides stock photos, illustrations, icons, fonts, and ready-made templates, but that does not mean you can resell them as they are. In general, do not take a Canva template, change one word or colour, and sell it as your own product. Stock elements can often be used inside a finished design, but they may not be resold as standalone images and may have limits on sharing.
Before you sell anything, read Canva’s current licence and terms, and check the rules of the marketplace where you plan to sell. Rules can change, so an old video may no longer be correct. When in doubt, choose the safer path: create your own layouts and wording, and use only fonts and graphics you are sure you may use commercially. Avoid copying popular characters, brand logos, celebrity images, song lyrics, and other copyrighted material, and do not suggest a connection to a brand you do not represent.
Skills You Need Before Your First Listing
You need a small set of reliable skills: clean alignment, consistent spacing, readable fonts, and a limited colour palette. A design with two or three colours and one or two fonts usually looks more professional than one using every colour and font available. Learn basic page sizes too. A social media template needs different dimensions from a printable planner page, and a poster for printing needs margins so nothing important is cut off. Check your design at full size, in print, and on a phone.
Organise your files well: name them clearly, keep editable and exported versions separate, and save a final copy before making changes. Canva’s free version is enough for many beginners. Only upgrade when a specific paid feature will clearly improve your products or save real time.
Choose a Niche You Can Serve Well
A niche is a clear group of people and a clear type of product. Teachers need classroom materials, parents need party and home organisation printables, and small businesses need menus, price lists, and social posts. Choose a niche by asking three questions: do you understand what this audience needs, can you make at least ten related products, and can you describe the product clearly? If all three answers are yes, you have a workable start.
Avoid choosing a niche only because someone else called it profitable. If you do not enjoy the work, you will struggle to finish a full set and answer buyer questions. Narrow a broad idea instead: “Instagram templates for home bakers” is clearer than “social media templates,” and “weekly planners for students” is clearer than “planners.”
How to Create a Design People Can Actually Use
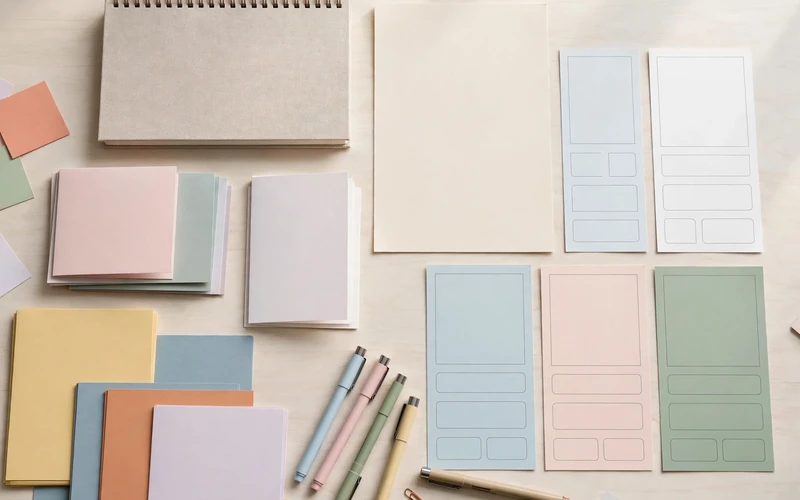
Start with the buyer’s end goal, not decoration. Will they print it and write on it, edit the text weekly, or post it on social media? For printables, keep text large enough to read after printing, leave writing space, and avoid pale colours that disappear on paper. For editable templates, use clear placeholder text such as “Your business name here,” group related elements, and keep the layout simple enough for a beginner to edit without breaking it.
Use the same fonts, colours, spacing, and heading style across a set, so a bundle feels complete rather than random. Before publishing, test the product as a buyer would: open the link, change the text and a colour, and export or print a copy. Check for spelling mistakes, overlapping text, and cut-off words, and include short instructions explaining how to open, edit, and download the template.
Files, Delivery, and Where to Sell
A printable is usually delivered as a PDF or image file the buyer downloads and prints. An editable Canva template is usually delivered through a template link with instructions, and some sellers offer both versions. Be clear in your listing about file type, number of pages or designs, sizes, and whether the product is editable. If the buyer needs a free Canva account to edit it, say so. If it is for personal use only, explain that plainly.
Etsy is a common starting point because buyers already search there for digital products. Creative Market and similar marketplaces can suit more polished template bundles, and your own website or blog can work once you have an audience. Start with one marketplace, learn its search, fees, and buyer messages, and read its rules on digital products, intellectual property, and template links before listing. A short tutorial showing how a template works can help buyers understand its value better than a still preview alone.
Pricing Your Designs
Price too low, and the work feels unsustainable; price too high, and buyers may choose a more established seller. Look at similar products in your niche, consider the time and detail in your product, and choose a fair price for a complete, usable set. Single designs usually cost less than bundles, because bundles save the buyer time and give a consistent set. Editable templates can often cost more than a single printable because the buyer can reuse them repeatedly.
The table below gives illustrative example price ranges only. These are not guarantees, and real prices vary by marketplace, quality, audience, and fees. Use them only as a starting point for research.
| Product type | What the buyer usually gets | Illustrative example price range only |
|---|---|---|
| Single printable page | One ready-to-print design, such as a planner page | Low single-item range |
| Small template set | Five to ten matching social media templates | Low to mid bundle range |
| Complete bundle | A full matching set, such as wedding stationery | Mid bundle range |
| Business template pack | Menus, price lists, flyers, or slides for one business type | Mid bundle range |
Account for marketplace fees, payment processing, and time spent answering questions and updating files. Review prices after your first few sales, and adjust based on feedback and how complete your product feels compared with similar listings. Avoid competing only on the lowest price: a fairly priced product with clear previews and good instructions is more likely to earn positive reviews and repeat customers.
Listings and Promotion
A good listing answers questions before they are asked. Use a clear title naming the product and its use, such as a weekly meal planner printable or Instagram templates for bakers. Avoid vague titles, misleading claims, and keyword stuffing. In the description, explain who the product is for, what is included, how it works, and what the buyer needs to use it, including file types, sizes, and any limits such as personal use only.
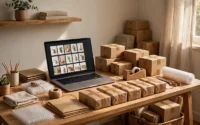
Show the full product in previews, not just the best page, and use a mockup showing real use, such as a planner on a desk, without hiding important details. Use tags matching what a buyer would search for: the problem, the audience, and the occasion. For promotion, a few helpful actions beat constant selling. Share short tutorials, examples of finished designs in use, and answers to common questions, and make clear when a post links to a product for sale. Avoid fake reviews, copied listings, and income claims.
Customer Service and Common Mistakes
Digital products need clear, fair policies. Many sellers state that downloads are non-refundable, while still helping if a file is faulty or a link fails. Write your policy clearly and follow it consistently. Most messages will be simple: a link problem, an editing question, or a size request. Answer politely, keep instructions simple, and check the link or permissions before assuming the buyer made a mistake. If you offer custom work, state what is included, how many revisions are allowed, and how long it will take.
Common mistakes are easy to avoid: selling designs made mostly from other people’s templates, listing before testing, making too many unrelated products, and forgetting delivery. A download folder with confusing file names or missing instructions can earn poor reviews even if the design is good.

A Simple Starter Plan
A realistic first month is about learning and building, not chasing a sales target. In week one, choose one niche, study similar products, and read the licensing and marketplace rules. In week two, create your first small set, test every file, write clear instructions, and prepare honest previews showing the full product. In week three, list the set on one marketplace, double-check files, prices, and policies, and share one helpful tutorial rather than many sales announcements. In week four, review what you learned: which questions came up, which preview was clearest, and what to improve next. Repeating this cycle, one focused set at a time, builds skill, confidence, and a catalogue buyers can trust.
Final Thoughts
Selling Canva designs rewards originality, clarity, and consistency more than speed or shortcuts. Focus on one audience, make designs that are easy to use, respect licensing rules, and describe products honestly. Your first product need not be perfect, but it should be original, complete, and useful.
Frequently Asked Questions
1. Do I need Canva Pro to sell Canva designs?
No. Many beginners start with the free version. Upgrade only when a specific paid feature clearly improves your products or saves you meaningful time.
2. Can I sell a Canva template exactly as I found it?
No. Do not resell a ready-made Canva template as your own product. Make your own original layouts and wording, and check Canva’s current terms and your marketplace’s rules first.
3. What sells best for beginners?
There is no single best product for everyone. Simple, useful products for a clear audience often work well, such as planners, social media template sets, classroom materials, and small business templates.
4. How do I deliver an editable Canva template?
Usually through a template link with short instructions on opening, editing, and downloading it. State clearly in your listing whether the product is editable and what the buyer needs.
5. Can buyers print my designs at home?
Many printables are designed for home printing, but results depend on the buyer’s printer, paper, and settings. Use print-friendly sizes and safe margins, and note that printed colours may differ slightly from screen colours.
6. Do I need to be a professional designer to start?
No. You need clean layouts, readable text, consistent colours, and products that solve a real problem. Usefulness and clarity matter first; style improves with practice and feedback.
7. How many products should I start with?
Start with one complete, focused set rather than many unrelated items. Once that set is finished and tested, build the next set for the same audience.
8. Is selling Canva designs a guaranteed way to earn money online?
No. No honest guide can guarantee sales or income. Results depend on quality, niche, visibility, pricing, and consistent effort over time.



- Be Respectful
- Stay Relevant
- Stay Positive
- True Feedback
- Encourage Discussion
- Avoid Spamming
- No Fake News
- Don't Copy-Paste
- No Personal Attacks
- Be Respectful
- Stay Relevant
- Stay Positive
- True Feedback
- Encourage Discussion
- Avoid Spamming
- No Fake News
- Don't Copy-Paste
- No Personal Attacks
